
Kitchen scraps, often regarded as mere food waste, hold immense potential to enrich your garden soil far beyond what you might expect. Venturing into the world of composting can seem daunting for beginners, but turning your kitchen waste into garden gold is simpler than it sounds. With a few basic principles and simple steps, you can contribute to environmental sustainability while providing your plants with the best possible nutrients. Let’s dive into how you can transform your kitchen scraps into nutrient-rich compost with ease.
Why Compost Kitchen Scraps and the Benefits for Your Garden
How composting reduces food waste and benefits the environment
Composting kitchen scraps plays a pivotal role in environmental conservation by significantly reducing the volume of waste that ends up in landfills. When organic material like food scrap decomposes anaerobically (without oxygen) in landfills, it releases methane, a potent greenhouse gas. By composting, you turn kitchen scraps into valuable compost at home, cutting down methane emissions and contributing to a healthier planet. Plus, backyard composting transforms this would-be waste into something extraordinarily useful for your garden.
The nutritional advantages of compost for garden soil
Compost is not just any soil amendment; it’s a powerhouse of nutrients that can vastly improve the structure and fertility of garden soil. Rich in nitrogen, phosphorus, and potassium, compost provides a balanced diet for your plants, often referred to as the trifecta of plant health. Moreover, composting kitchen scraps generates humus, which improves soil structure, moisture retention, and root growth. This means healthier plants and more bountiful harvests.
Differences between compost and commercial fertilizer
While both compost and commercial fertilizers aim to supply essential nutrients to plants, they function in fundamentally different ways. Fertilizers often provide an immediate but short-lived nutrient boost. In contrast, compost slowly releases nutrients, offering a long-term solution to soil health. Moreover, compost enhances the biological and microbial activity in the soil, something synthetic fertilizers can’t match. This means that when you compost food scraps, you’re not just feeding your plants; you’re sustaining the entire ecosystem beneath your feet.
Getting Started: Choosing the Right Compost Bin for Home Use
The pros and cons of different compost bins and piles
Choosing the right compost bin can make a significant difference in your composting venture. While open piles might be the simplest way to start composting, they can attract pests and take longer to decompose. Closed bins, on the other hand, expedite the decomposing process by retaining moisture and heat but require more maintenance in terms of aeration and turning the pile. Tumblers are another option that simplifies turning the compost but can be more expensive. Consider your space, budget, and the effort you want to put into your composting process when choosing your bin.
Indoor vs. outdoor composting solutions
Where you decide to compost—indoors or outdoors—largely depends on your living situation and space availability. Indoor compost bins and worm bins are fantastic for those with limited outdoor space, like apartment dwellers. These bins are designed to minimize odors, making them suitable for inside use. Outdoor composting, whether in bins or open piles, is more traditional and allows for larger volumes of kitchen and yard waste. Both methods effectively make compost at home; the choice hinges on your personal circumstances and preferences.
DIY compost bin ideas for beginners
DIY compost bins are a cost-effective and satisfying way to start composting. Simple designs include drilling aeration holes into a basic plastic bin or constructing a bin from upcycled wooden pallets for more spacious gardens. These projects not only save money but also let you tailor your composting setup to fit your specific needs.
Basic Ingredients for Successful Composting
Understanding greens and browns: The balance of nitrogen and carbon
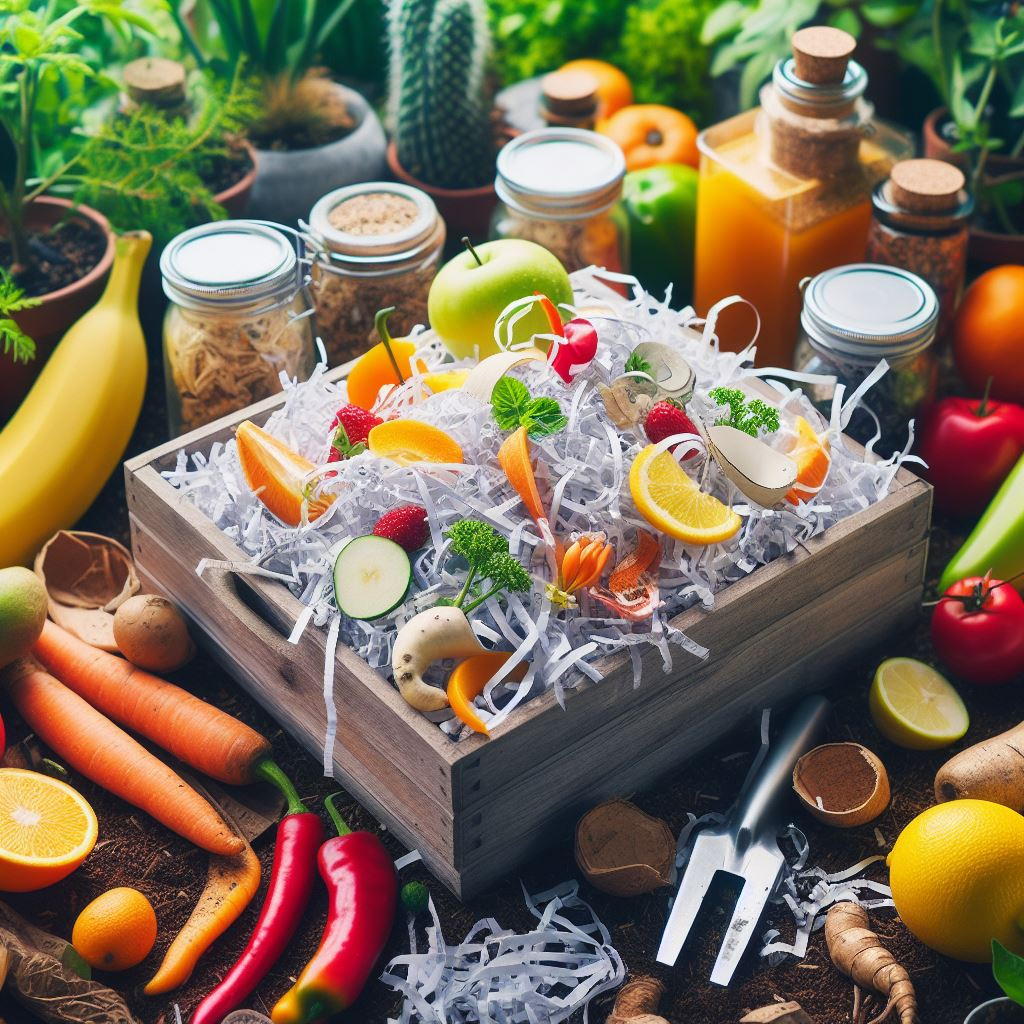
A successful compost pile requires a balance between green and brown materials – your kitchen scraps (greens) rich in nitrogen and dry, carbon-rich browns like leaves or shredded paper. This balance aids in the aerobic decomposition of organic material, turning it into compost. Too much of either can slow down the composting process, so aiming for a roughly equal mix or slightly more brown material is a good practice.
What kitchen scraps can be composted, and what should be avoided?
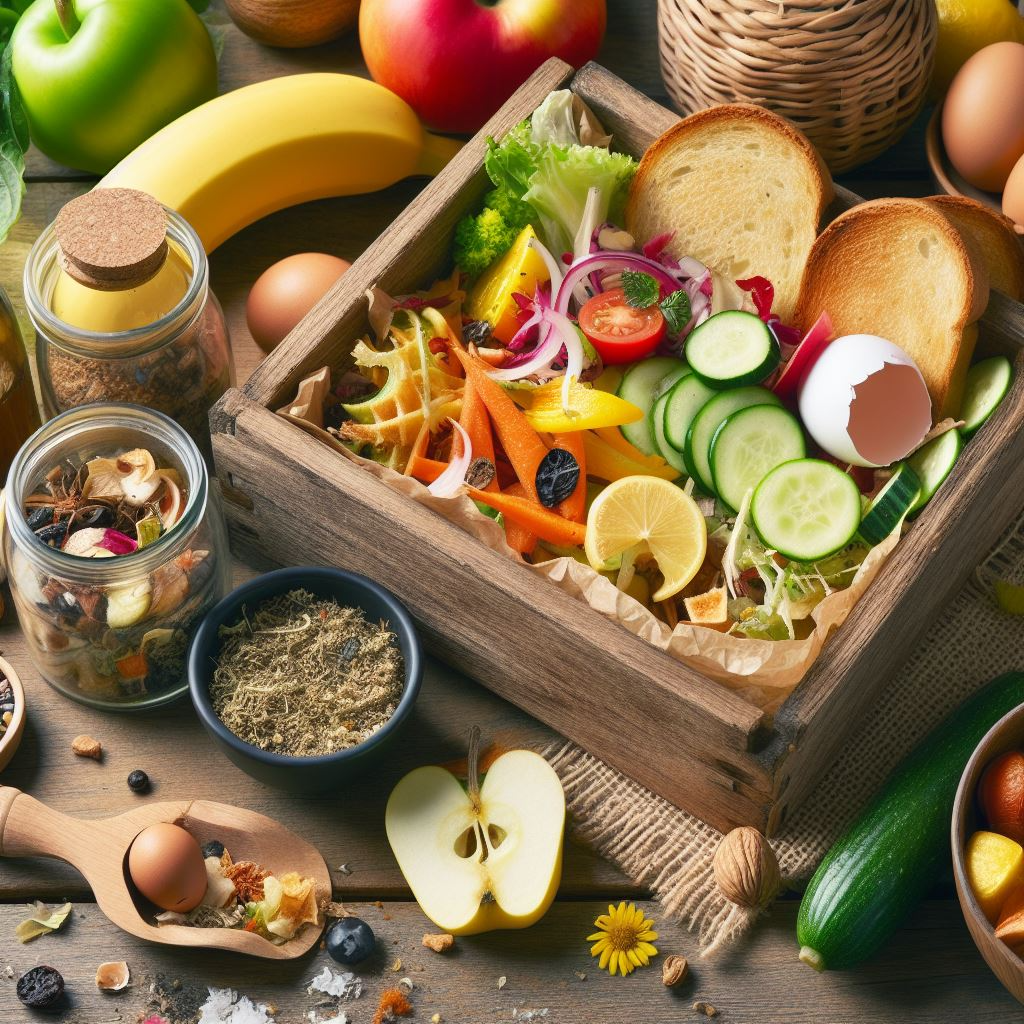
Most kitchen scraps are perfect for composting, including fruit and vegetable scraps, coffee grounds, eggshells, and even tea bags. However, composting meat, dairy, and oily foods should be avoided as they can attract pests and create unpleasant odors. Composting should focus on plant-based materials to ensure a smooth decomposition process.
Using coffee grounds and other uncommon compost materials
Coffee grounds are an excellent addition to the compost pile, providing a rich source of nitrogen. Other lesser-known compostable items include cardboard egg cartons, natural cork, and even human hair! These materials add variety to your compost pile and contribute to a rich, balanced compost.
Step-by-Step Guide to Composting Kitchen Waste
How to start your compost pile or bin
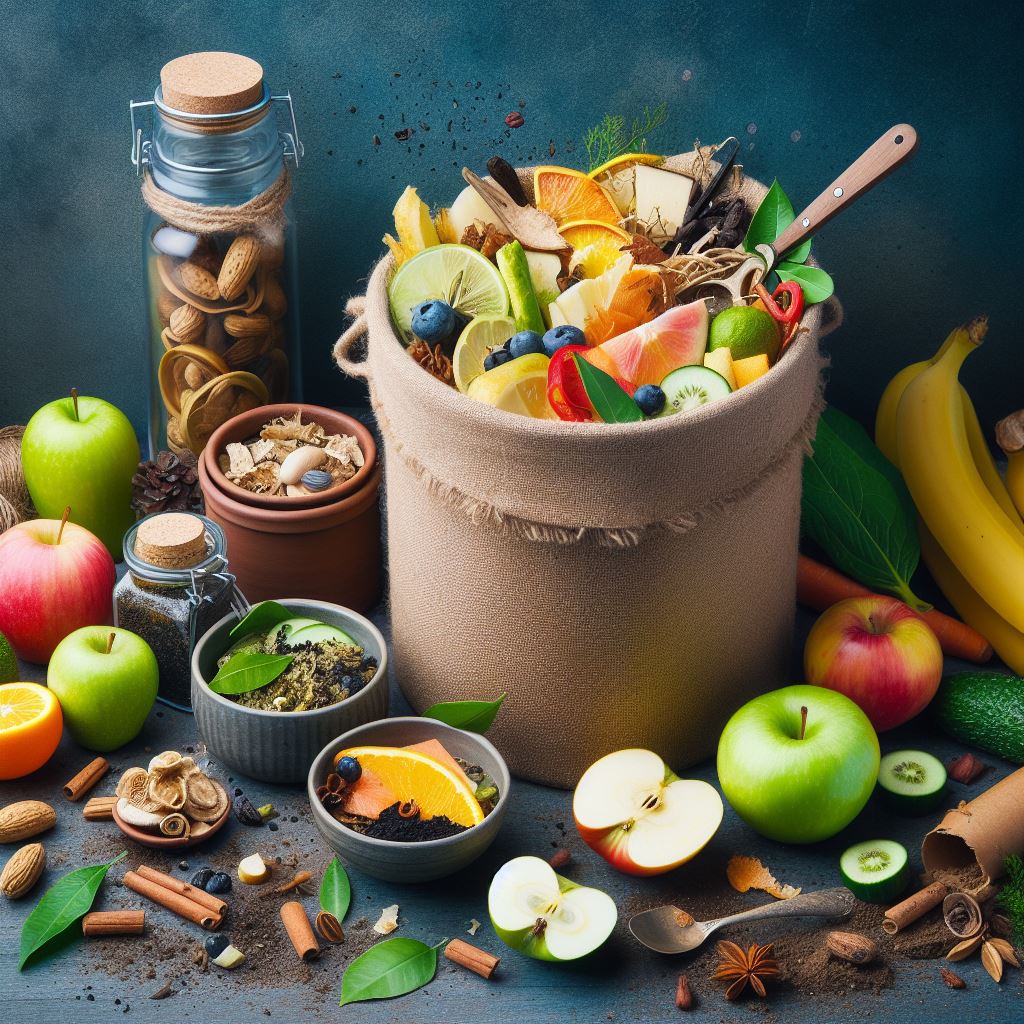
Starting your compost pile is as simple as layering browns and greens in your chosen bin or pile. Begin with a layer of browns, add your kitchen scraps, and then another layer of browns. This layering technique helps maintain the necessary balance between nitrogen and carbon, accelerating the composting process.
The role of moisture, aeration, and temperature in composting
For composting to occur efficiently, your pile needs to stay moist, like a wrung-out sponge. Aeration, achieved by turning the pile every few weeks, supplies oxygen vital for decomposition. Temperature also plays a crucial role, with the center of the pile heating up as decomposition progresses. This heat is a good sign, indicating that your compost is actively breaking down.
Identifying when your compost is ready to use in the garden
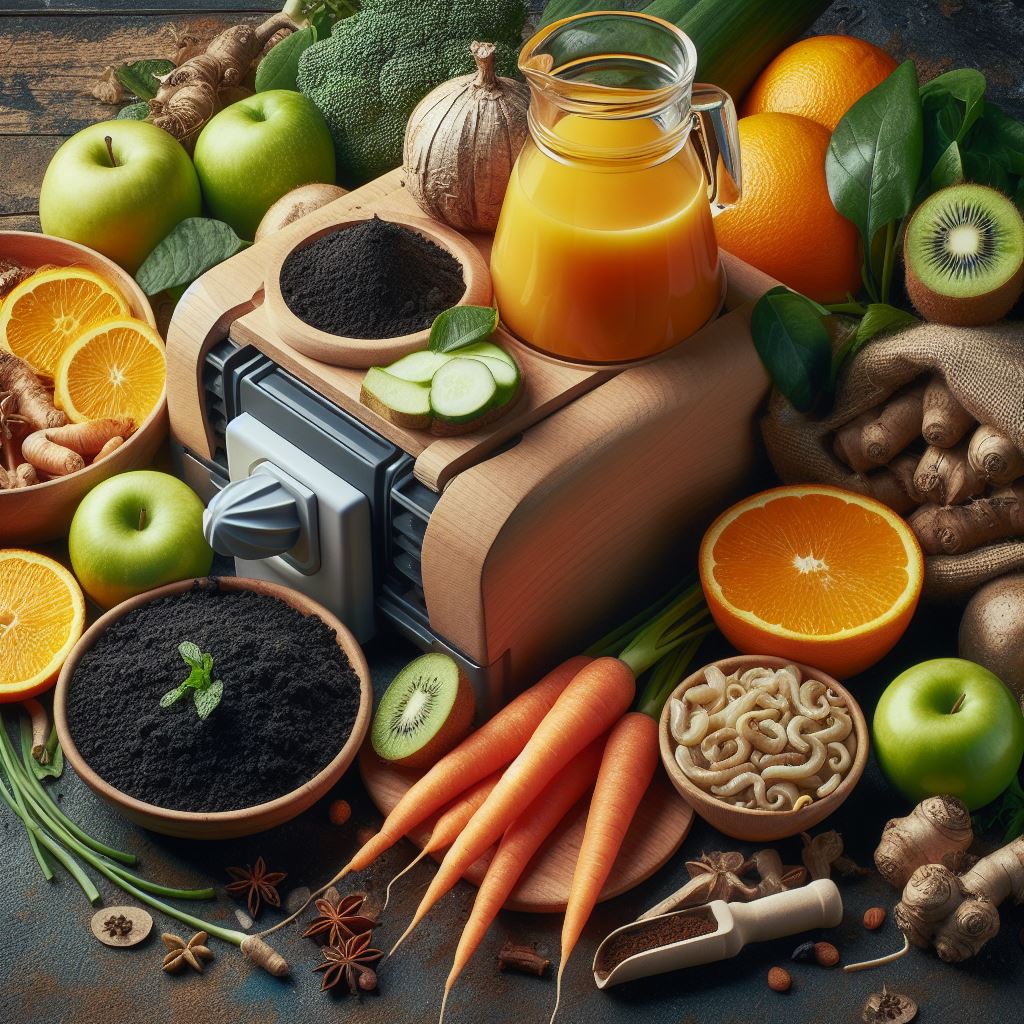
Finished compost is dark, crumbly, and smells like earth – it’s unmistakable. The process can take anywhere from a couple of months to a year, depending on the factors we’ve discussed. When your compost no longer looks or smells like the original kitchen scraps and materials you started with, it’s ready to enrich your garden beds.
Advanced Techniques: Worm Composting and Troubleshooting Common Issues
Setting up a worm bin for faster composting
Worm composting, or vermicomposting, uses red wigglers to decompose kitchen scraps more quickly than traditional composting methods. Setting up a worm bin is straightforward and can be done indoors, making it an excellent option for those with limited space. Worm composting not only speeds up the composting process but also produces highly nutritious compost for your garden.
How to deal with odors, pests, and other composting challenges
Odors and pests can be minimized by properly balancing greens and browns in your compost and by avoiding meat and dairy products. If odors persist, adding more browns can help absorb excess moisture and mitigate the smell. Keeping a tight lid on your bin and ensuring it has adequate ventilation can also help ward off pests.
Maintaining your compost pile: Tips and tricks for beginners
Regularly turning your compost pile, maintaining proper moisture, and continually adding greens and browns are key to sustaining your compost’s health and efficiency. Experimentation is part of the process, so don’t be afraid to adjust your balance of materials or try adding different scraps to see how they affect your compost’s performance. Composting is a forgiving process, and the rewards for your garden are well worth the effort.